This post may contain affiliate links, which means I'll receive a commission if you purchase through my link, at no extra cost to you. Please read full disclosure here.
Hey there! Today I want to talk to you about my crazy thick frizzy wavy hair. Specifically, I want to give you some pointers for how to style thick wavy hair and achieve a frizz free look that will last all week.
Keep in mind, it has taken me almost 30 years of life to perfect a good hair styling routine for my super thick wavy hair. In fact, I grew up hating my hair!
In my younger years, I remember coming home from school crying. I would ask my mom why I had to have weird hair that was different than everyone else’s.
I dreamed of having pin straight manageable hair and hated the fact that no matter what I did, my hair always felt frizzy and unruly. Not to mention, all the trendy “in” hairstyles never looked the same on me.
Now, as I am approaching my 30th birthday, I can confidently say that I truly love my hair. Not because it magically overnight transformed and became the same as everyone else’s.
On the contrary, I love it because it’s different and it’s mine.
My journey to self love – *hair edition*, hasn’t been a smooth ride. So if you are in the same boat as I was not so long ago, I’d love to make it a little easier for you.
That’s why I have broken down my styling routine into a series of steps including tips, tools, and products that will make styling your unmanageable, thick, frizzy hair so much easier!
You might also like: The Best Hair Length For Thick Wavy Hair is Long (& Here’s Why)
How to Style Thick Wavy Hair
Here is my step-by-step process from showering to dry, styled hair.
Step #1: Start the whole process with clean, tangle free hair
First, make sure your hair is already combed through and tangle free before you step in the shower. This will make the conditioning step easier because you will be able to finger comb the conditioner through your hair more easily if your hair isn’t in knots.
When it comes to conditioning, make sure you use a super thick hydrating conditioner. I can tell a conditioner is good quality if it clings onto my hair and it’s not difficult to finger comb it through my hair.
One of my favorites is by Pureology. It’s moisturizing enough that I don’t feel the need to go in after with a deep conditioner because it was made for medium to thick hair. Not to mention the minty menthol smell is amazing.
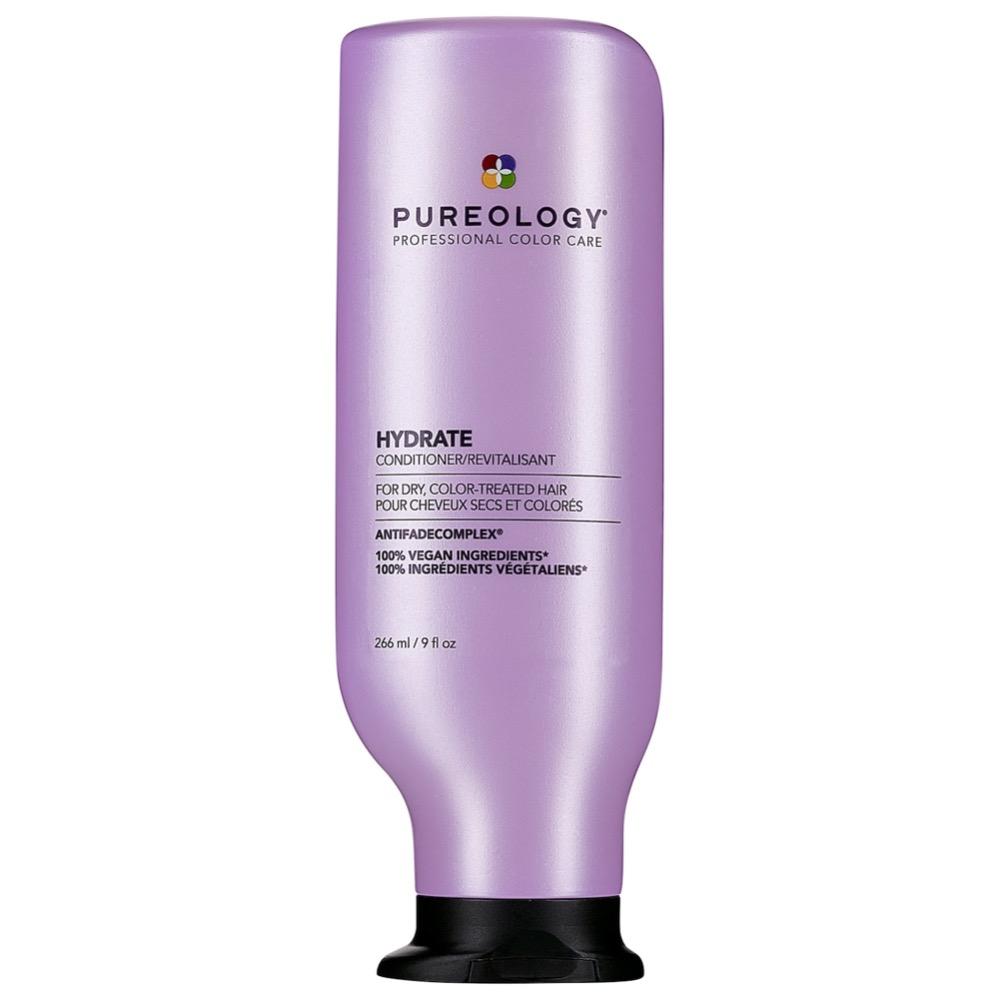
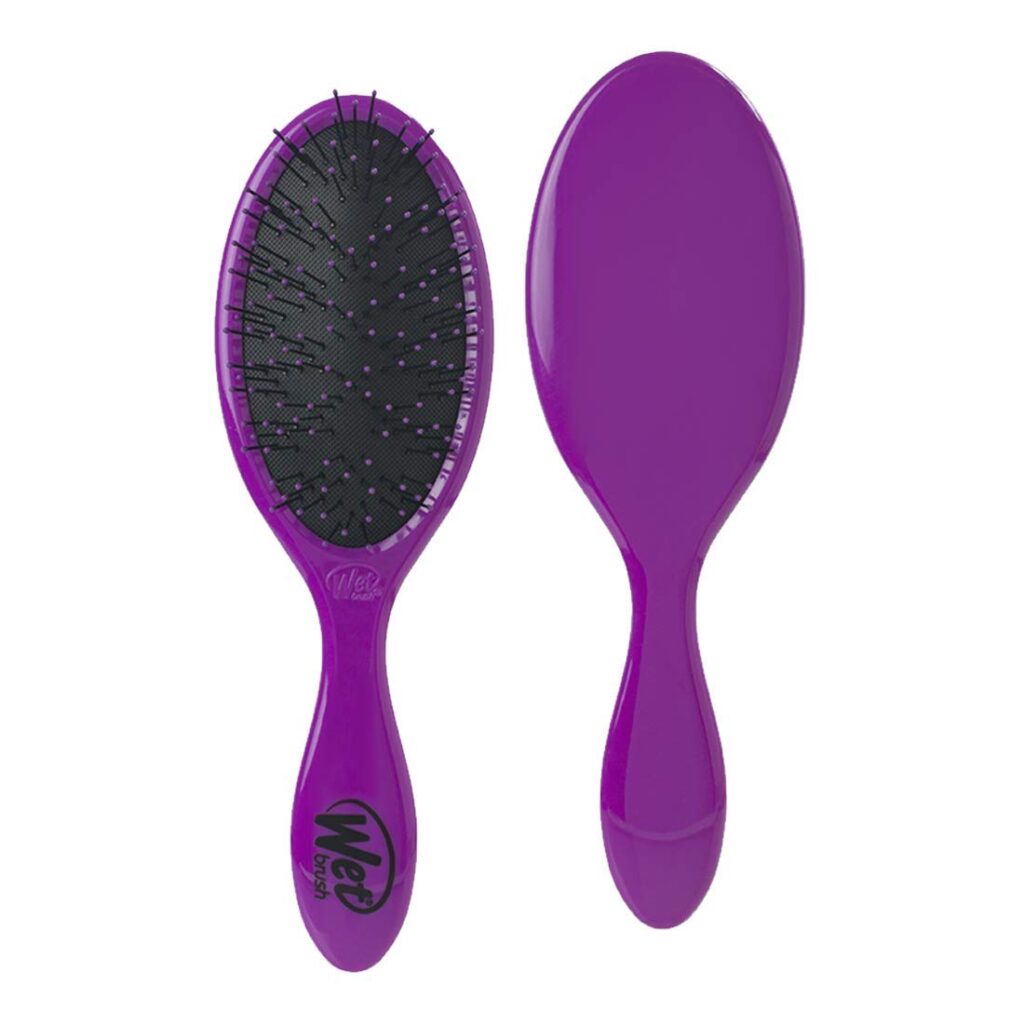
After squeezing out a generous amount of conditioner, take the time to completely saturate your hair from your ears down. Starting at the ends of your hair, finger comb it through and then if there are no tangles or catches you can switch to a Wet Brush or wide toothed comb.
The goal here is to make sure you work a good amount of conditioner throughout your hair and get all the tangles out before you step out and move on to the next tip.
Step #2: Use a microfiber towel to cut down on dry time
Straight out of the shower, wring out any excess water and use a microfiber towel to absorb any excess water. This cuts down on the amount of time it will take your hair to dry and effectively combats frizz.
Step #3: Leave in product and air dry
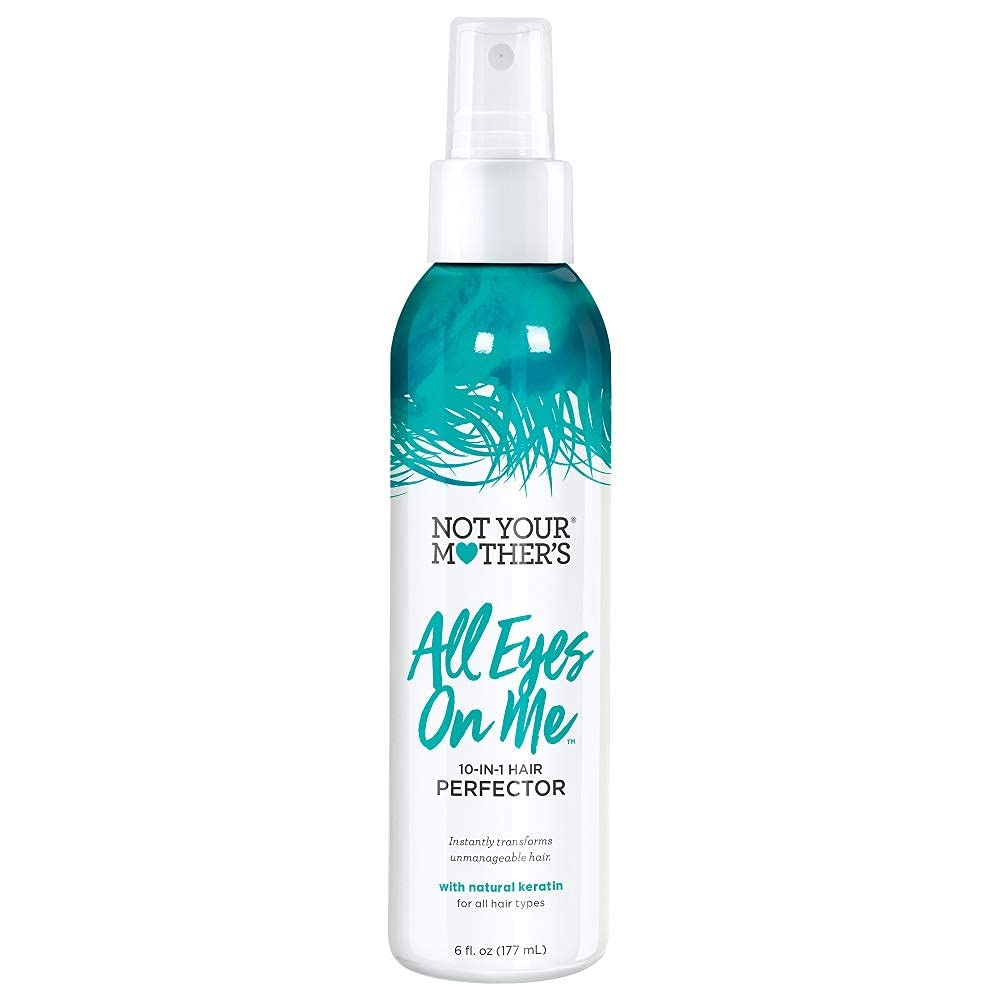
Much like the first step hinges on using a good conditioner, this step is all about finding a good leave in spray. The more moisturizing the better. A good leave in product will smooth out your hair so that your combing tool will glide through your hair without pulling.
The one I have been currently loving is by Not Your Mother’s.
I was looking for a good leave in conditioning spray that didn’t cost an arm and a leg and after lots of failed attempts I came across this one and haven’t stopped repurchasing.
I spray a generous amount, concentrating midway through my hair downwards. Then, starting at the bottom, comb my hair out with my wide tooth comb.
After that l switch back to my Wet Brush for a little bit more detangling action.
I then let my hair air dry on it’s own all the way until it’s about 90% dry. This process usually takes about an hour.
Step #4: Prep hair for styling
After my hair is about 80-90 percent air dried is when I finger comb through my hair with an anti frizz styling cream or serum.
Then, I decide if I’m going to heat style my hair or put it into braids for heatless waves.
For this particular styling routine, I’m going to be heat styling my hair so the next step is to apply some heat protectant spray.
In all transparency, I use the Tresemme Heat Tamer Spray because it’s cheap and you can find it at any drugstore, but any heat protectant spray should work just fine!
Step #5: Style smarter not harder when styling thick wavy hair
The easiest way I have found when blowing out my thick wavy hair is to work in sections. I do 5 sections total.
The first two sections are made by sectioning off your hair from your ears up, and then split in half as if you were going to do pig tails.
Blow those sections out and then do the same thing with the remaining hair above, except keeping the very top layer secured off separately.
I spritz each section with some more heat protectant as I go for extra coverage.
Now let’s talk about the all in one tool I use to blowout my hair with.
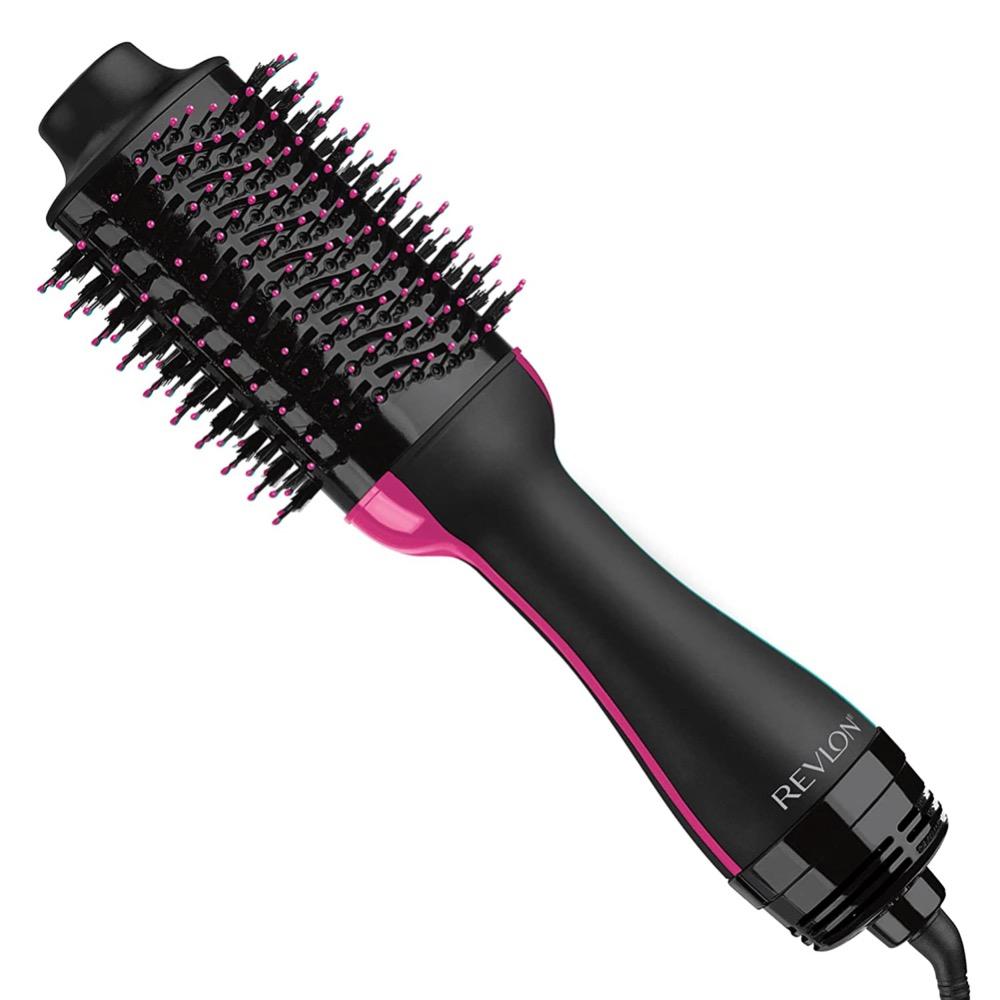
This is where the star-of-the-show game changing product comes in: The Revlon One-Step Volumizer Hair Dryer.
When I tell you I am terrible at trying to maneuver between a round brush and a blow dryer to blow out my hair I am not exaggerating!
But this baby makes blowing out your hair effortless!
Using a blowdryer with a round brush is way more difficult for girls like myself with super thick hair. This tool makes it so easy to get a salon identical blowout at home and it is so much more affordable than it’s competitor the Dyson Air Wrap.
Here’s a video showing the exact technique I use when using the Revlon One Step to blow out my hair:
Step #6: Optional: add in random curls
Once your hair is looking sleek and blown out, use a large barrel curling iron (mine is 3/4 inch) to add a few random curls throughout.
I only grab maybe 6-8 random pieces throughout my hair to add some definition and I don’t do it every time.
I focus mainly on the very bottom where my hair tends to form curly/frizzy pieces, and the very top by the crown of my head to smooth out any bumps I may have missed while blowing out.
The reason I don’t waste time putting curls throughout my entire head is for a few reasons.
One being I just have too much hair and I don’t have the patience to curl my whole head.
Second is I have found with my hair texture it blends well by just adding in a few random curls.
Last is it is simply way less damaging to your hair — don’t put any heat on your hair that you don’t need to!
Step #7: Finish with oil to add shine when styling thick wavy hair
Note: Do not apply oil to your hair until you are completely done heat styling because it will singe your hair!
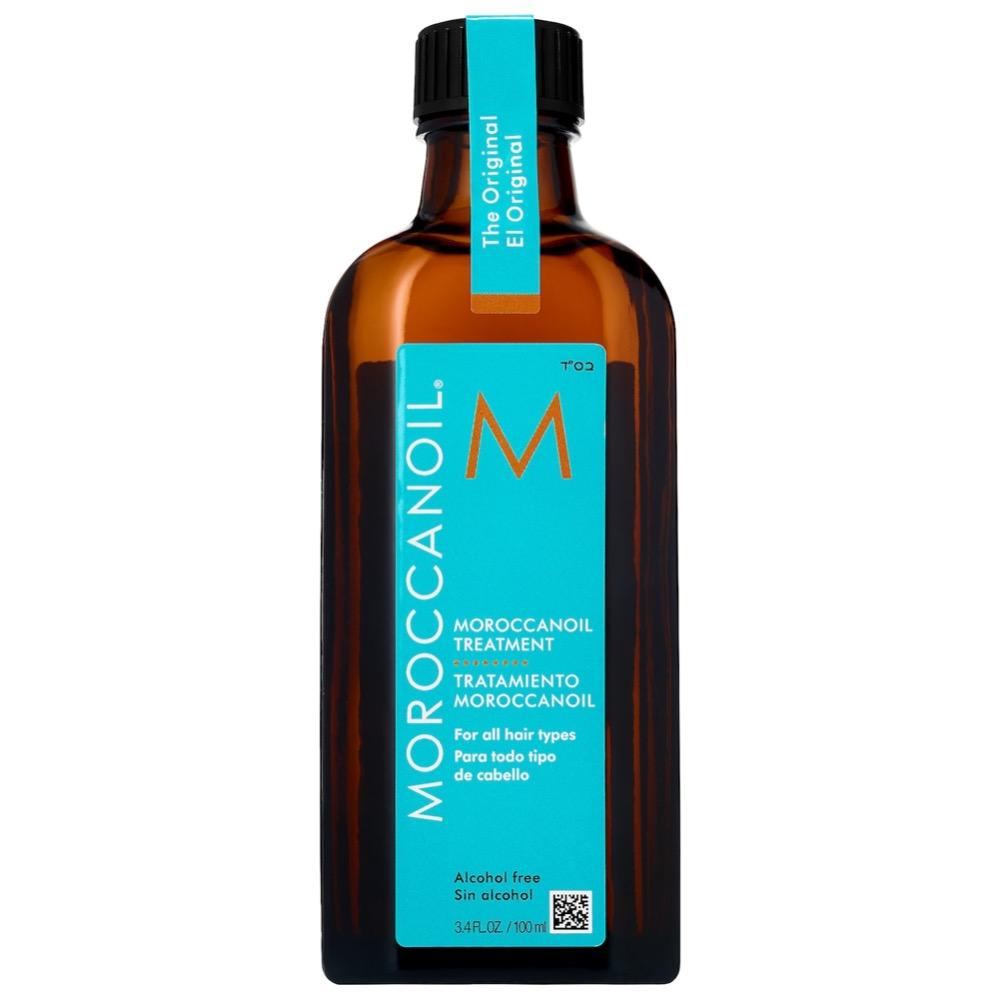
I use a small amount of Moroccanoil and finger comb it throughout the ends of my hair to add some moisture back along with shine to make it look polished.
You could also use a serum or shine spray instead if you prefer it but in my opinion oil does the best job of adding real, lasting moisture.
Final Words on Styling Thick Wavy Hair
Boom. That’s it! Super sleek shiny healthy looking hair. If I happen to have any fly aways at the roots I spray my hands with a tiny bit of hairspray and flatten them down and we’re good to go.
As you can see, my routine is pretty simple. The whole styling process (after air drying) usually only takes 20-30 minutes tops.
The best part is that the results last me an entire week. My current routine includes washing and styling every Saturday. This, of course, is if I am going for the sleek tamed look.
During the times I want to embrace my natural texture, I follow a different process, which I plan to share with you all in a future post as well.
I know first-hand how trying it can be to have super thick hair. So I hope this gave you good insights on how to style thick wavy hair.
If you have a go-to stying routine for thick wavy hair, I’d love to hear how your routine differs from mine. Feel free to share any tricks you have, or any fab products you recommend as well.
Drop a comment below!
And, if you need more hair tips, be sure to check out: Why Hair Won’t Grow Past Shoulders & How to Speed Up Growth
SHOP MY FAVORITE PRODUCTS FOR THICK WAVY HAIR BELOW:
More By Jessi Ann:
- 5 Delicious & Healthy Homemade Dog Treats Recipes Your Pup Will Drool Over
- 25 Hottest Patio Decorating Ideas For Summer
- The Mental Load In Women: 42 Ways to Reduce It & Make Life Lighter
- Cheap Amazon Home Decor: 15 Luxurious Finds That Look Expensive
- Minimalist Spring Nails: 10 Simple Designs to Hop Into Spring With
Argon oil is amazing love the smell !
Me too! 🙂
Wow, thank you so much for this! I am almost 30, feeling the same way. Thank you for acknowledging our hair journey is hard! I can’t wait to try.
Absolutely, it really is! Hopefully this routine helps you out 🙂